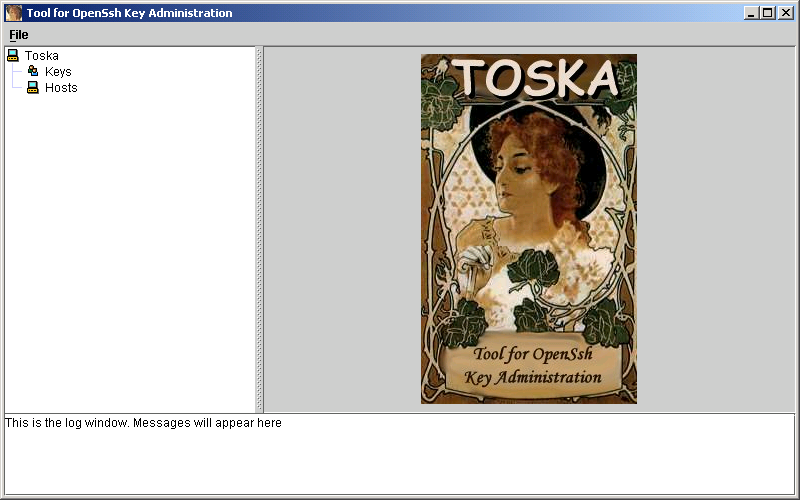
Toska Quick StartA quick start guideOK, I will write more documents, promise, but as of now this is a quick start that should be enough to have you up and running in minutes. PrerequisitesA Java Virtual Machine, 1.3 or later (yes, it works with 1.4 too), nothing else, no database, no LDAP: the data are kept on disk in a pure XML format. Start upIf you have Java Web Start installed, all you need to do is point your browser here. I experienced some weird connection timeouts with Sourceforge, but I hope it was just me. If this is not the case, please drop me a note. If you don't have Java Web Start you can download the sotware (binaries or source). All you have to do (after compilation if you downloaded the sources) is to launch the run(.sh|.bat) script. The main screenOnce started, the main screen shows up. The main part, as you will soon notice, is the tree on the left side. From there you can right-click on the nodes and a contextual menu will allow you to operate on the data model, adding and removing keys/hosts/users, enabling or disabling keys,
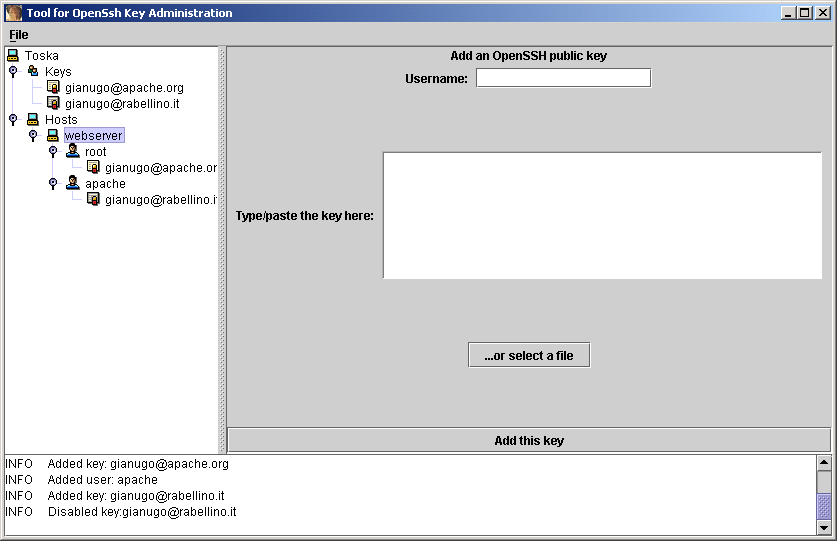
Should any user input be required, a panel will appear in the right side of the application, allowing you to fill the required informations.
The previous image, by the way, shows you a populated tree. It's worth noticing that one of the keys (the one with gianugo@rabellino.it) is disabled (in grey). That key won't be included once the data will be deployed. Also, note how every operation is logged on the status window. This allows you to understand what is the program doing. Once you're done...The first thing you have to do is save your data. The "Save" menu is there to help you: it will save an XML file containing your setup (this, by the way, means that you can edit it by hand if you're not that much into GUIs). But in the end what you want is to upload the keys to the servers. To do this choose the "Deploy to filesystem" menu entry. Once you have chosen a directory, the program will start dumping your data there, and you will find a set of directories named as per your hosts. Under every host directory you will find a file, named as per your users, in the OpenSSH authorized_keys format. All you have to do is to "scp" those files to your machines (yes, a script is underway, be patient :-)). |